The IoT Hub is the gateway for data to the Microsoft Azure Portal. Data can be exchanged with the IoT Hub via MQTT. We show the MQTT connection of the IoT Hub in a step by step tutorial with OPC Router as MQTT client.
The Microsoft Azure Cloud is one of the leading cloud environments on the market. The Azure Portal provides many ready-made services that can be easily connected. Cloud applications are created by interconnecting the finished components. One of these components is the IoT Hub, which serves as the most important bidirectional connector for external data sources and IoT devices. With the OPC Router, the IoT Hub and thereby the Azure Cloud can be connected to write data to the Azure Cloud, but also to obtain data from the Cloud for the field level. The connection of the IoT Hub is realized with the OPC Router MQTT Client Plug-in. The transfer of data at the field level or the data procurement for the cloud is implemented with the various plug-ins of the OPC Router. You can find a dedicated video about this topic by visiting our tutorial stream.

MQTT Connection of the Azure IoT Hub
For the connection the following steps are necessary, which we will explain in detail below. If you do not yet have access to the Azure portal, you can create a free Azure account here.
- Create an Azure IoT Hub in the Azure Portal
- Determining the Azure IoT Hub connections data
- Configuration of the MQTT Client for connecting the IoT Hub
(Click to enlarge images)
Creating a new IoT Hub in the Azure Portal
- Login to the Azure portal: https://portal.azure.com/#home
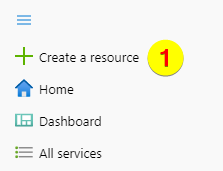
- Click on “Create a resource”:
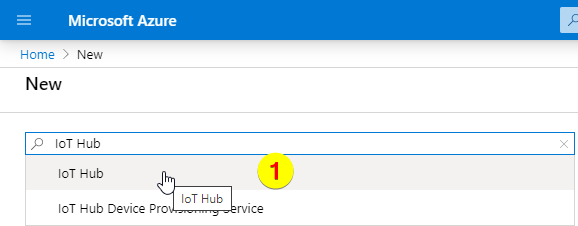
- Put in and choose “IoT Hub”:
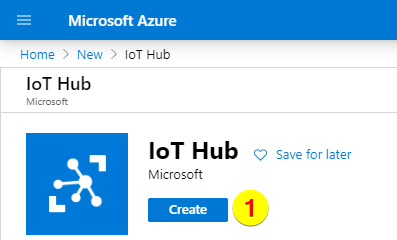
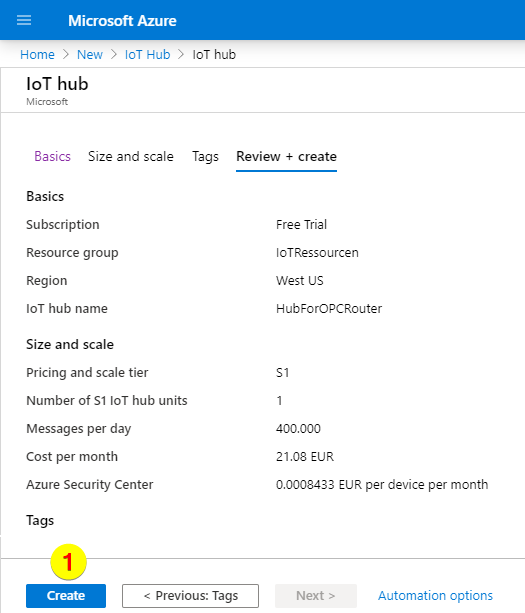
- Create the IoT Hub:
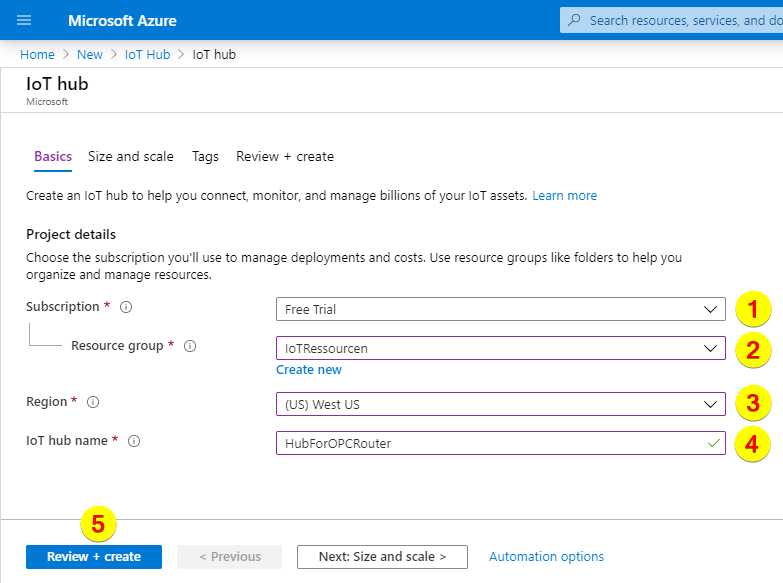
- Put in the following data:
- Subscription (1)
- Resource group (2)
- Region (3)
- IoT hub name (4)
After that click on “Review + create” (5):
- Review and create:
Azure IoT Hub – Determining connection data
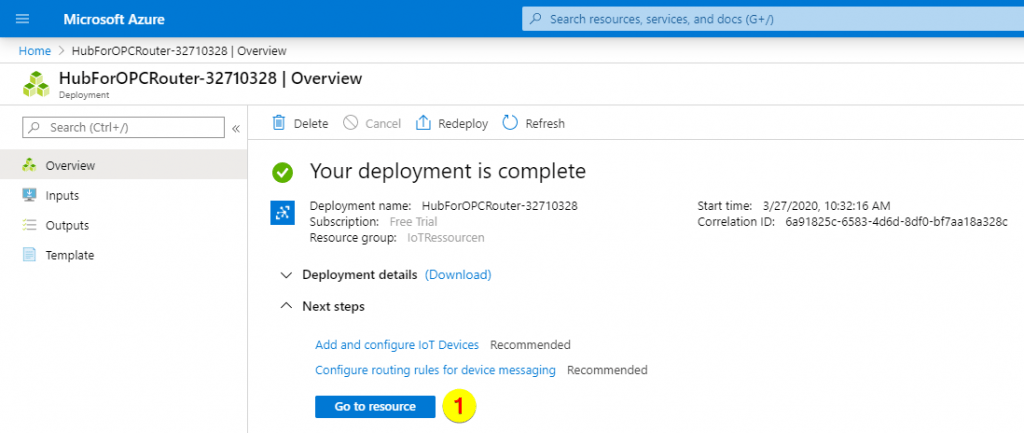
- After aprox. five minutes the deployment has finished. Click on “Go to resource”:
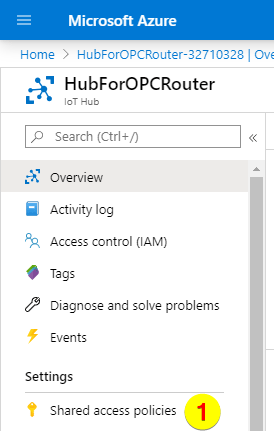
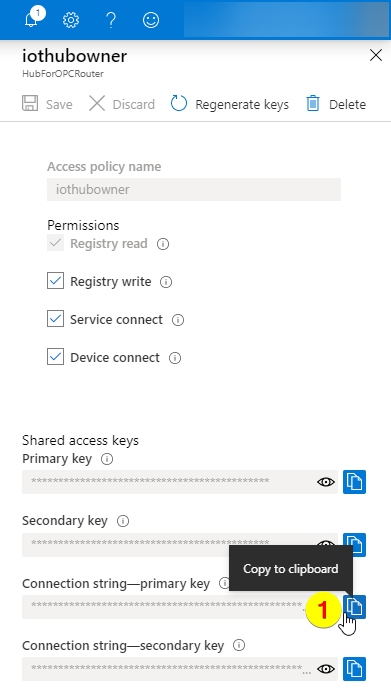
- Go to security settings and shared access policies. Then select the primary connection string:
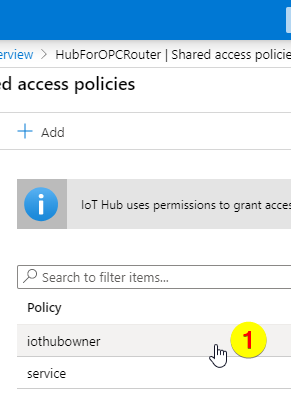
- Click on policy “iothubowner”:
- Copy the connection string of the primary key:
Creating an MQTT Plug-in in OPC Router
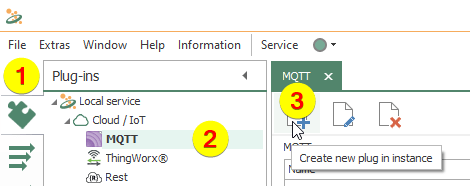
- Do following steps in OPC Router:
- Click “Plug-ins” (1)
- Click “MQTT” below “Cloud / IoT” (2)
- Click on the button to create a MQTT Plug-in (3)
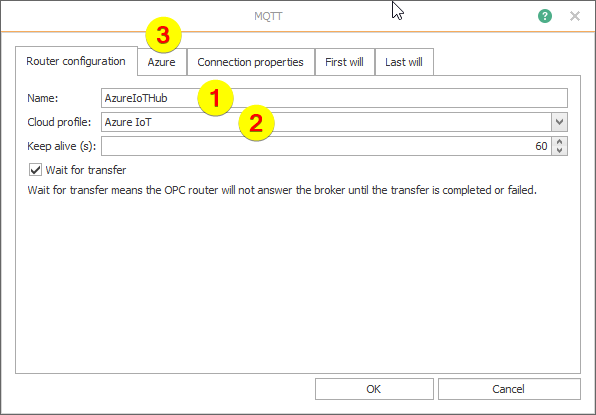
- Put in the following data on tab “Router configuration”:
- Name (1)
- Cloud profile (2)
After that click on tab “Azure”:
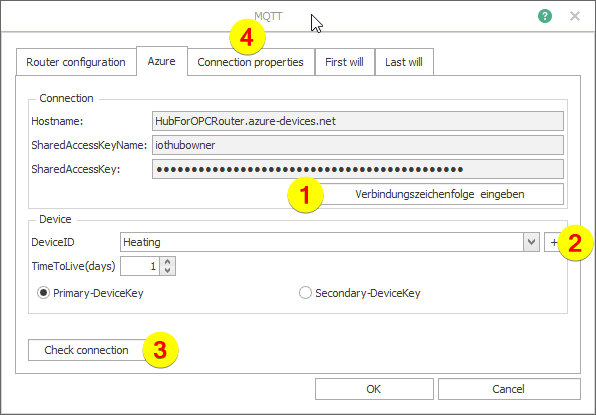
- Do following steps on tab “Azure”:
- Put in the connection string (1) (see step 10 of section “Creating a new IoT Hub in the Azure portal”)
- Choose or create a device (2)
- Check the connection (3)
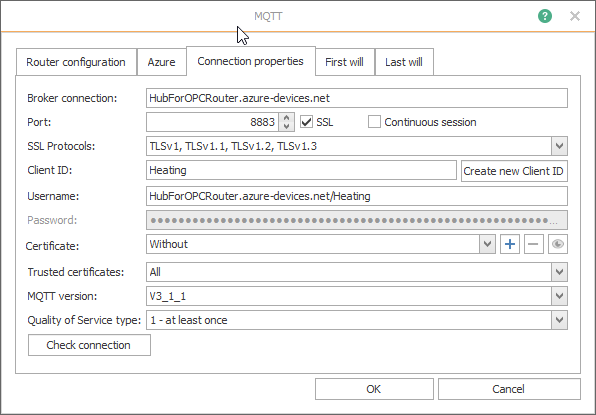
After that click on the tab “Connection properties” to have a look:
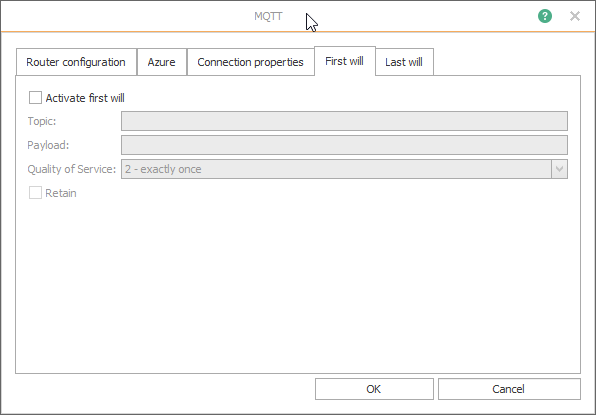
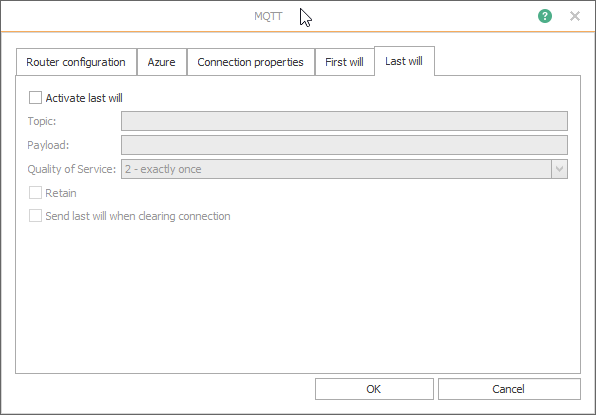
- The three tabs “Connection properties”, “First will”, “Last will” don’t need to be modified und you agree with the OK button:
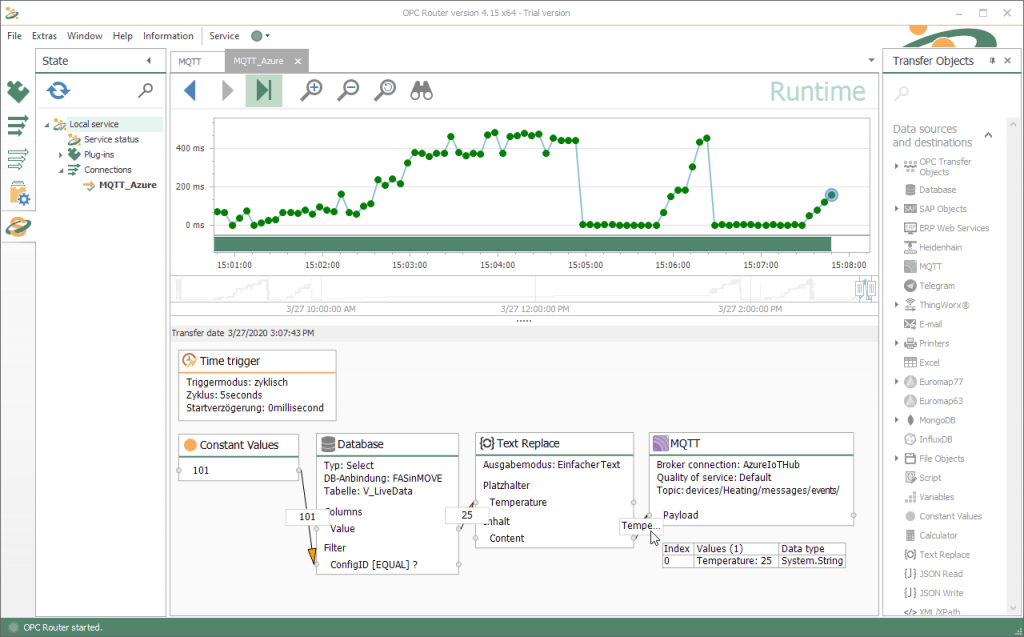
- Finally here is the finished MQTT entry:
IoT devices and monitoring
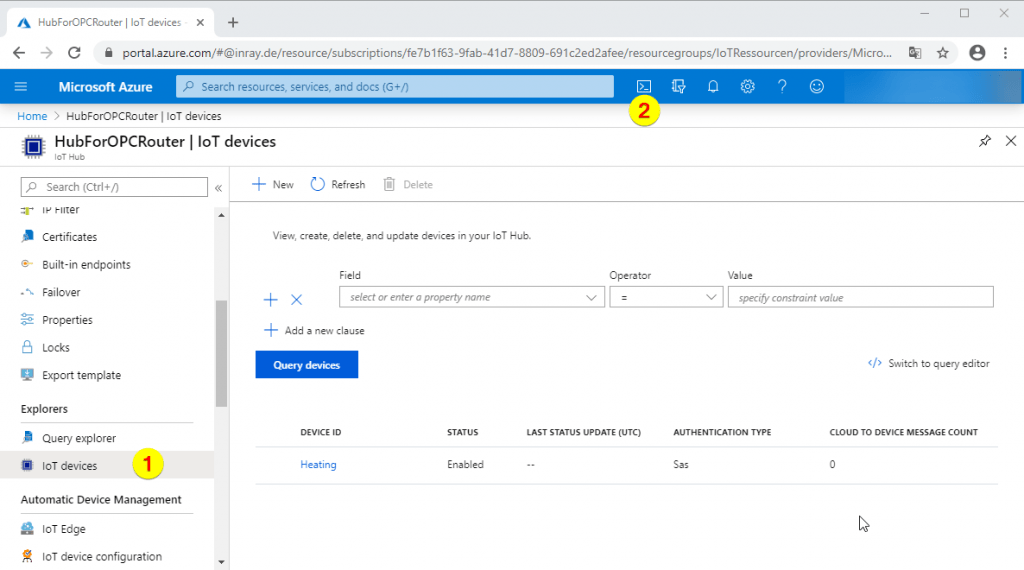
On the left site of the IoT Hub site you will find the menue entry “IoT devices” (1). For monitoring auf the transfered data start the Shell (2).
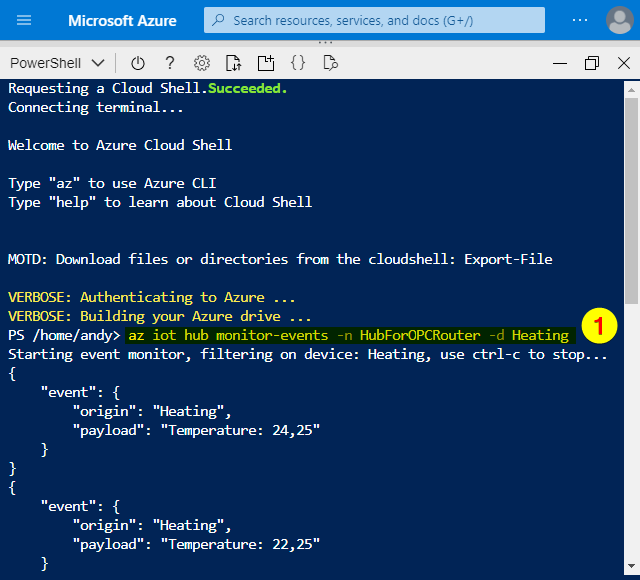
Via marked command “az iot hub monitor-events -n HubForOPCRouter -d Heating” you can see the received data on the device “Heating” on the hub “HubForOPCRouter”.

