Connecting the Google IoT Core platform (GCP) explained step by step.
Please note that the Google IoT Core will no longer be available after August 16, 2023. Please visit our article for further information.
The Google Cloud Platform (GCP) is Google’s cloud solution that brings all of Google’s cloud computing services together. Google’s own services, such as Google Search and YouTube, run on the GCP, but end users can also book the cloud services.
For the Internet of Things (IoT) area, the platform offers the “Cloud IoT Core” services, which provide the functionalities to connect large quantities of devices. The connection is possible via an integrated MQTT broker. Here we show the necessary steps for the connection.
Cloud IoT Core MQTT Connection
The connection takes place in the following steps, which we will explain in detail below.
- Generating project and registry
- Creating a MQTT plugin, as well as generating certificate and device
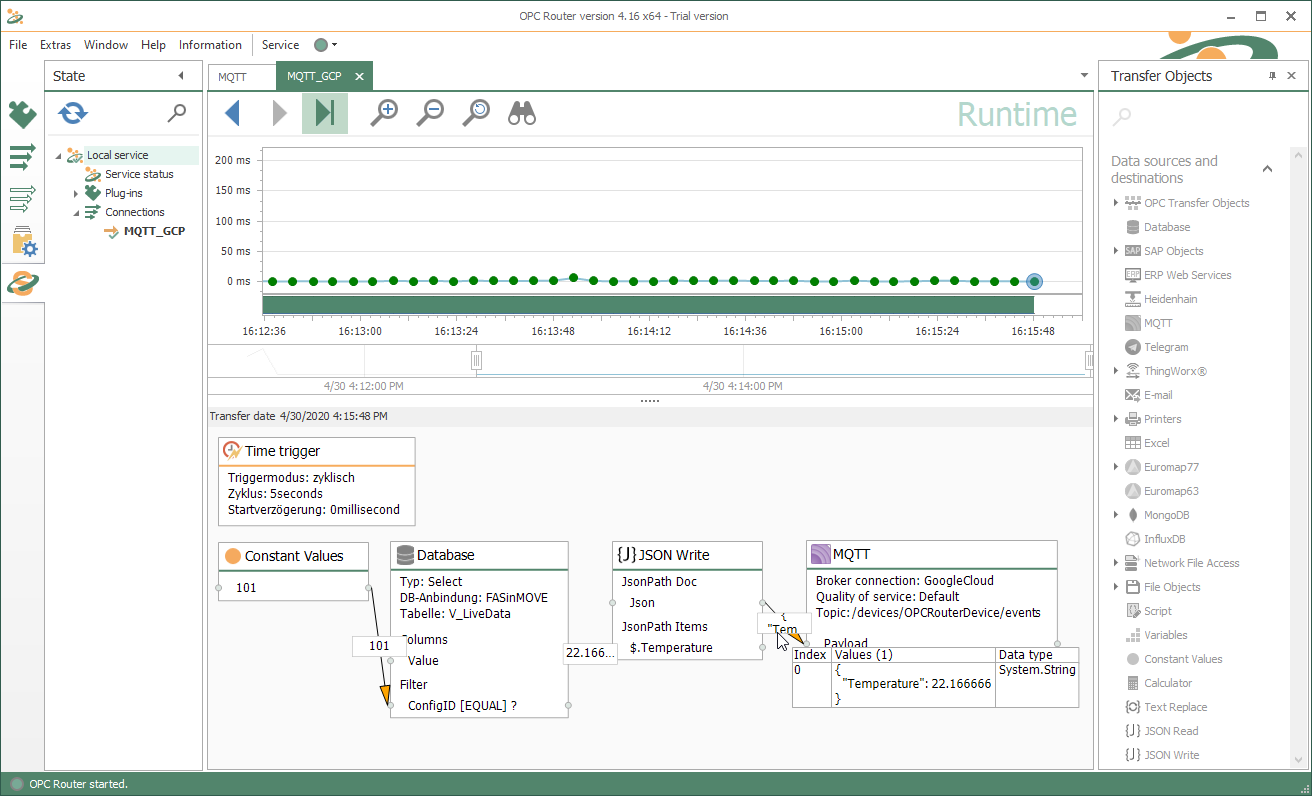
- Transfer data to the device
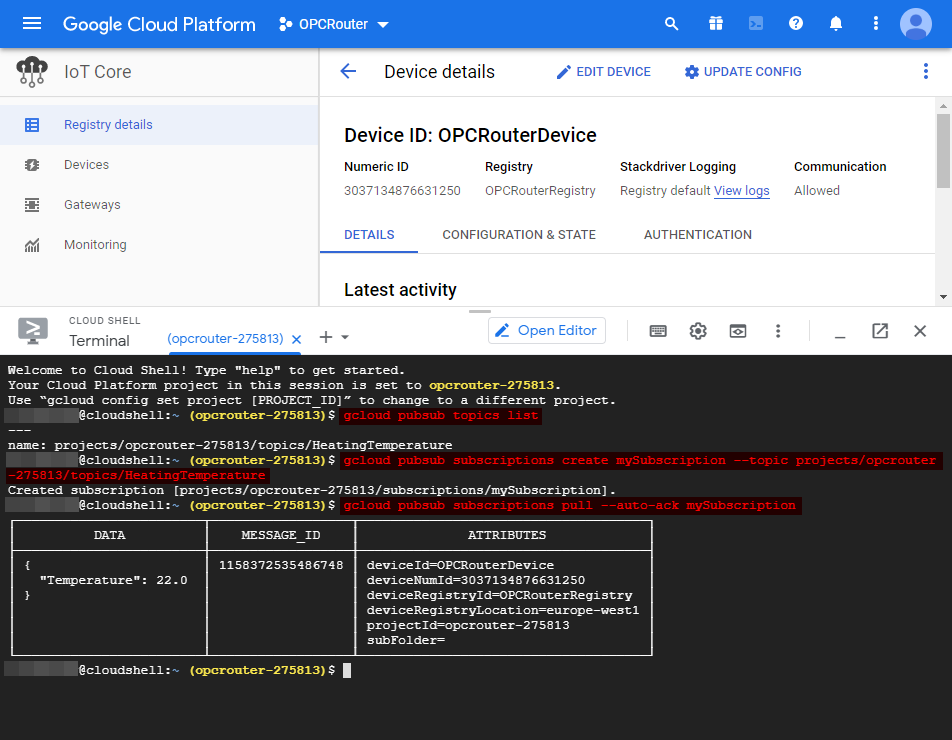
- Monitoring
Generating project and registry
- Login to the Google GCP Console: https://console.cloud.google.com/
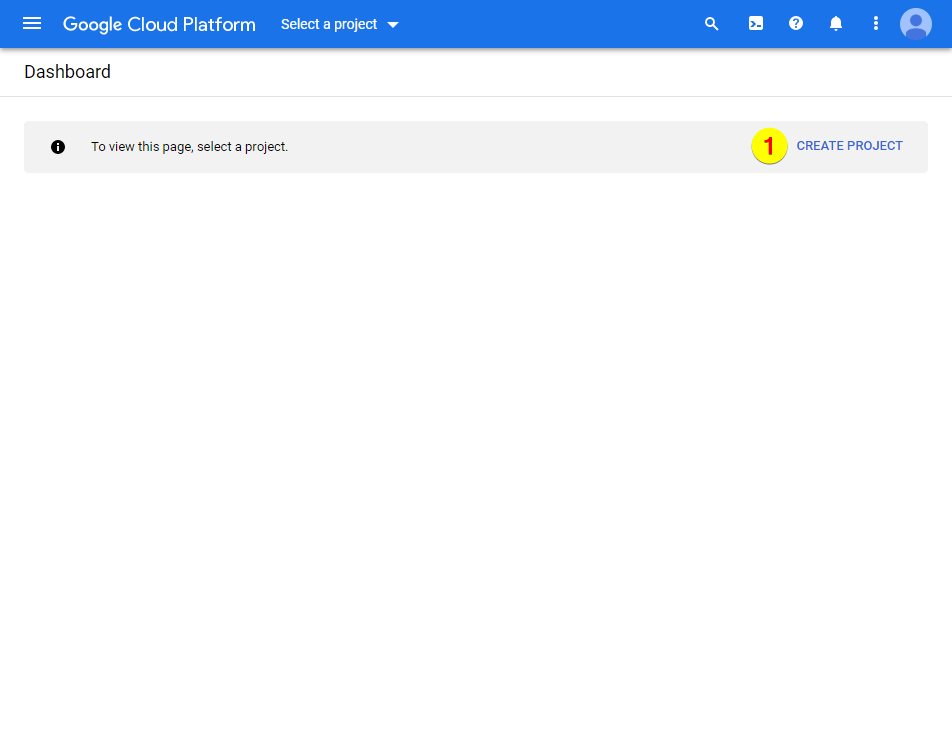
- Click on “CREATE PROJECT”:
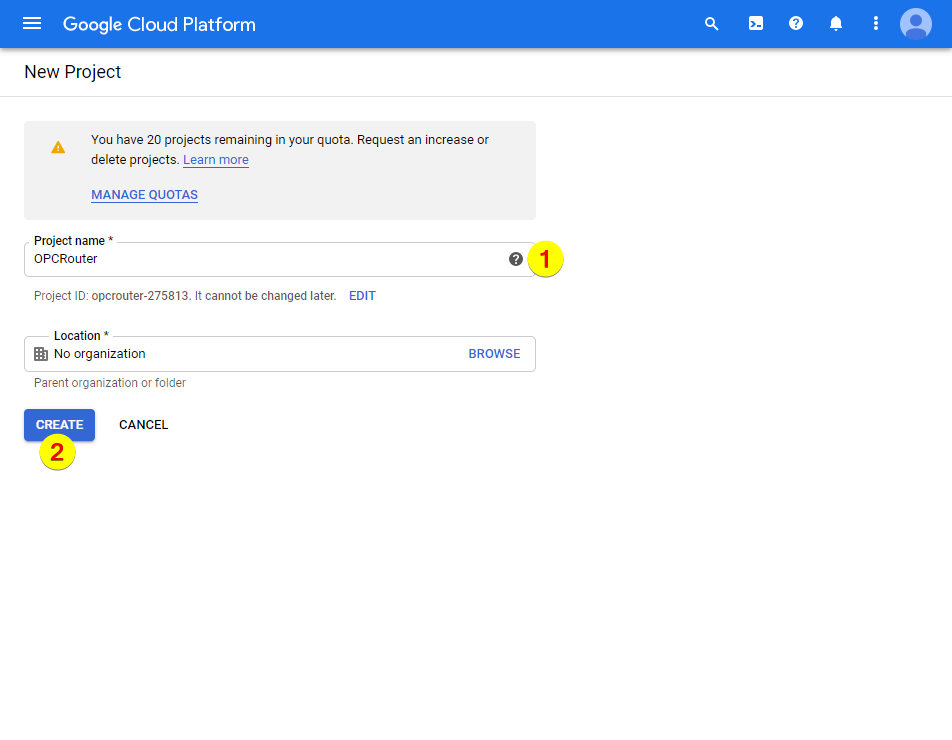
- Put in a name (1) and click on “CREATE” (2):
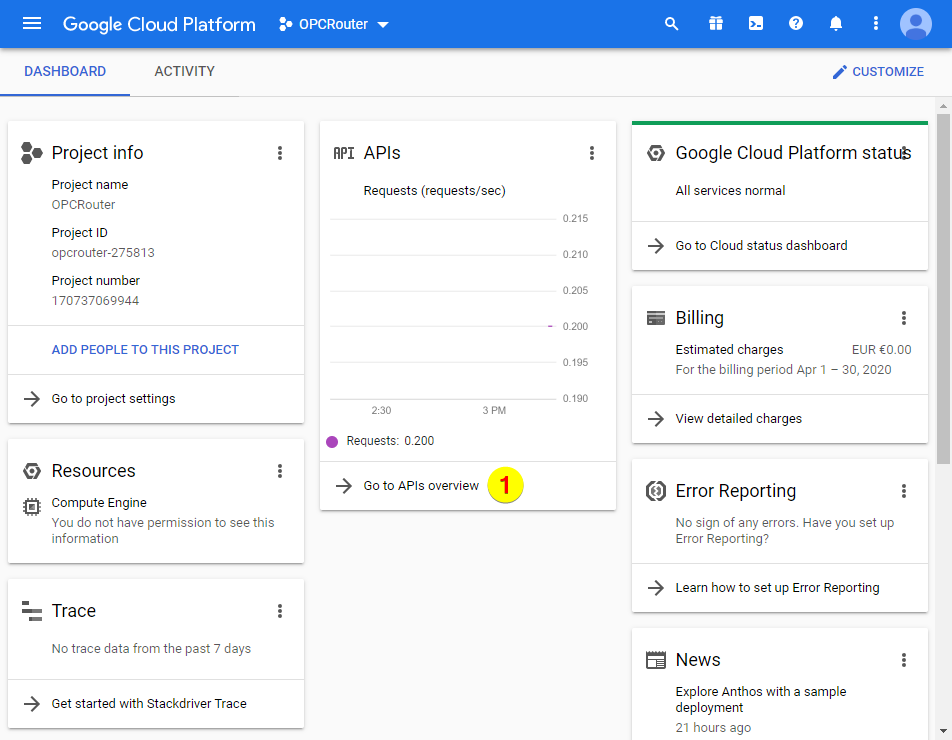
- Click on “Go to APIs overview”:
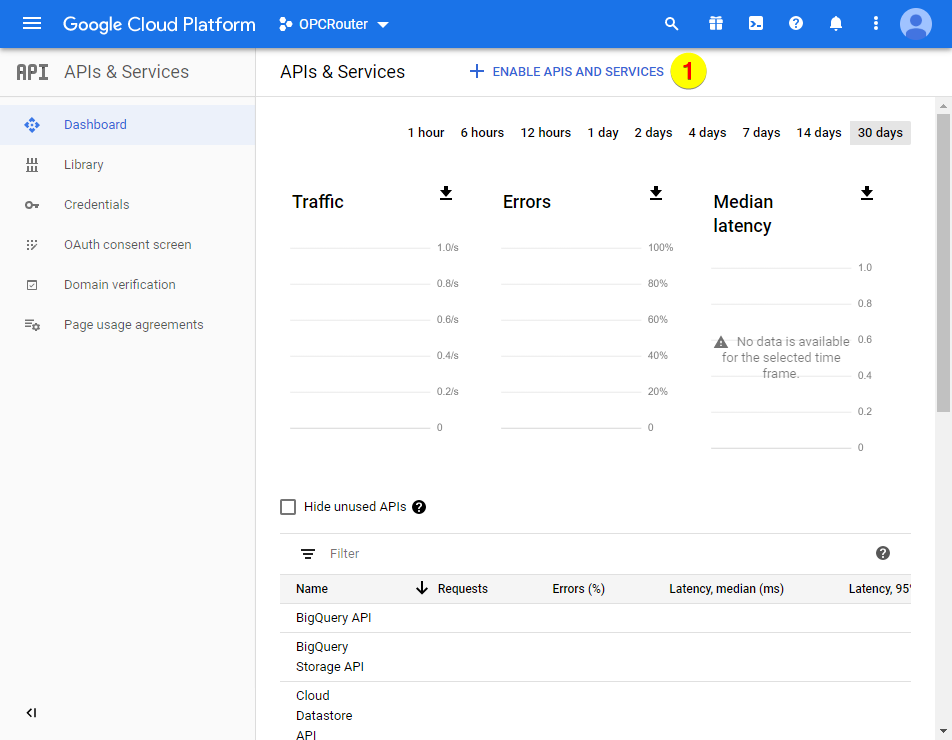
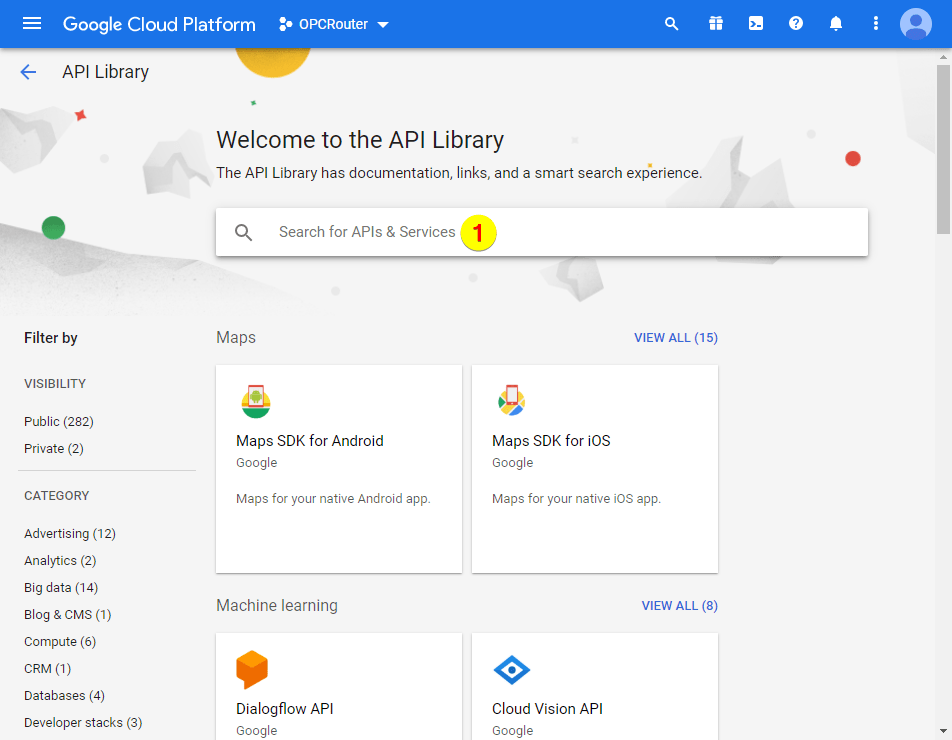
- Click on “ENABLE APIS AND SERVICES”:
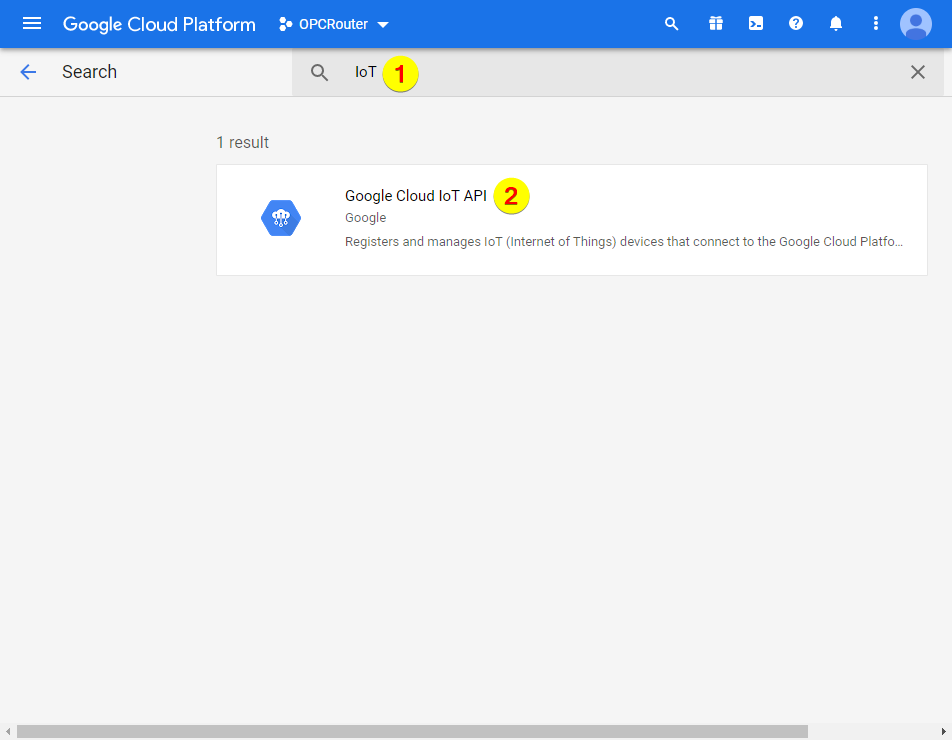
- Search for “IoT” (during this time the view changes):
- After changing the view and entering the search term completely (1), choose “Google Cloud IoT API” (2):
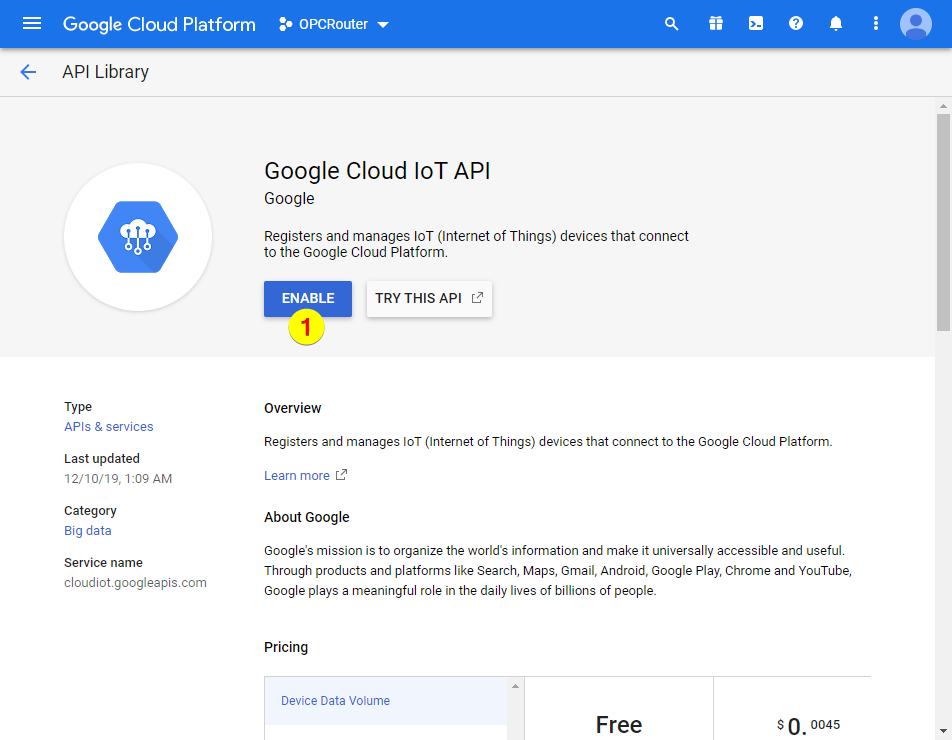
- Click on “ENABLE”:
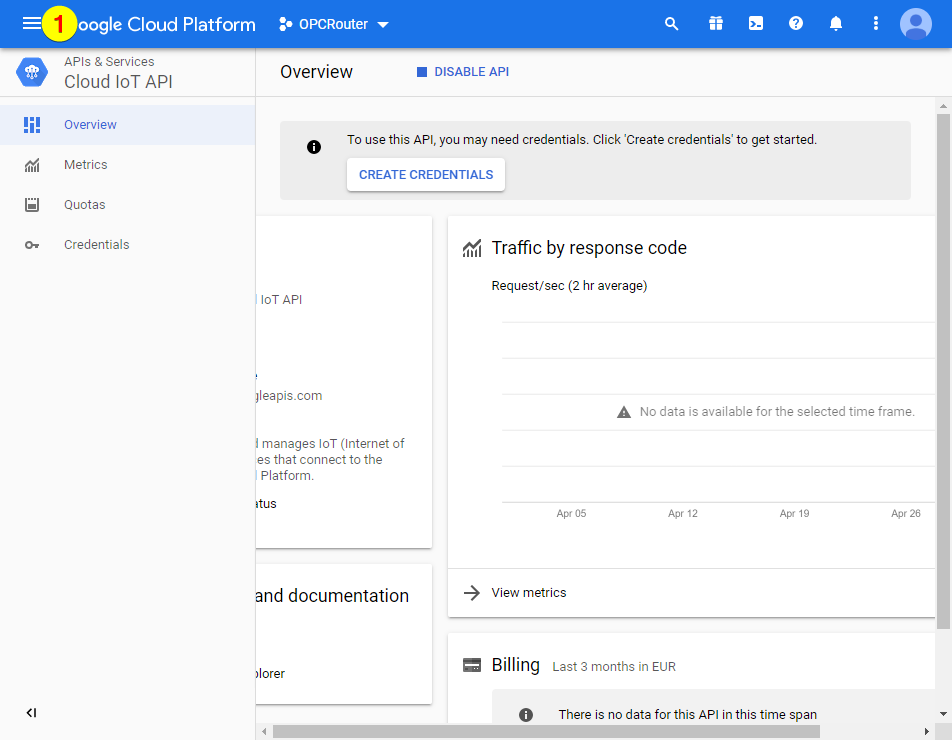
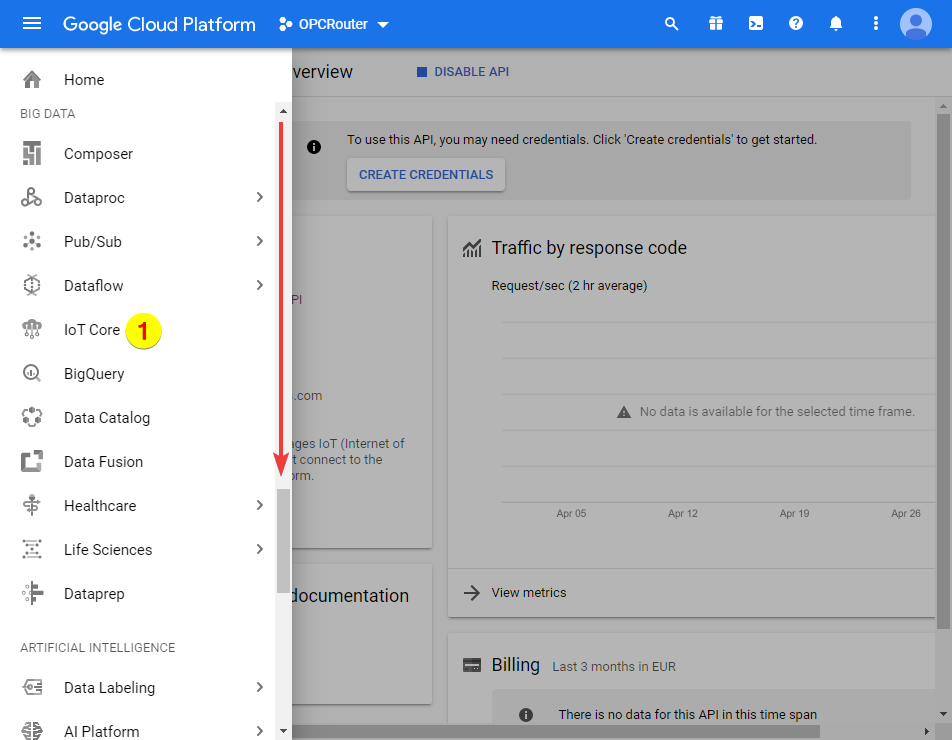
- Open the menue:
- Scroll to the section “BIG DATA” and choose the menue entry “IoT Core”:
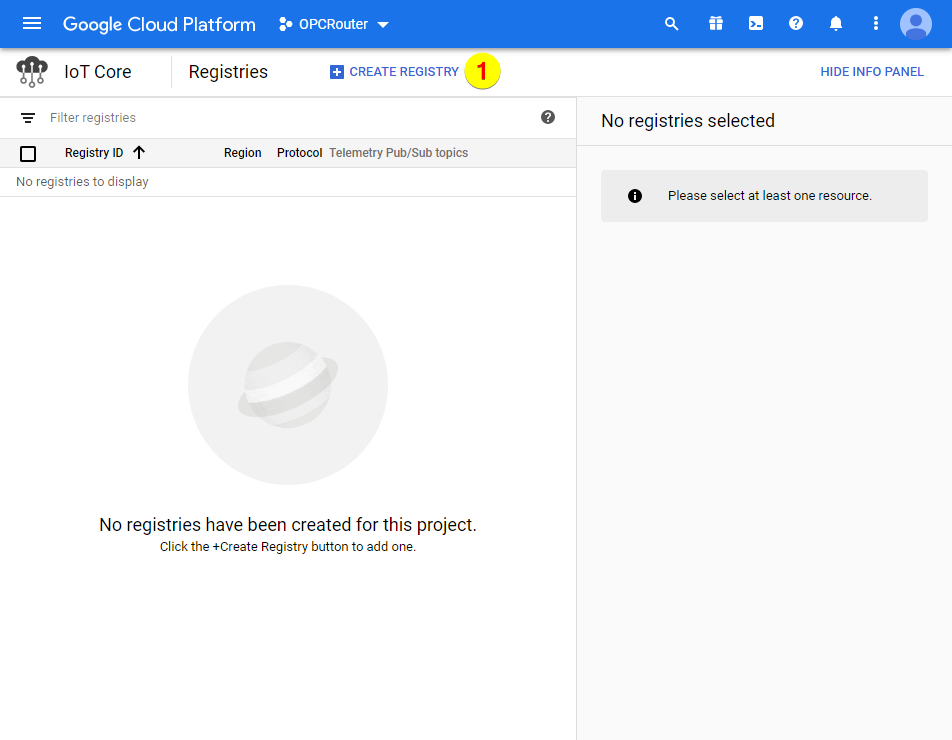
- Click on “CREATE REGISTRY”:
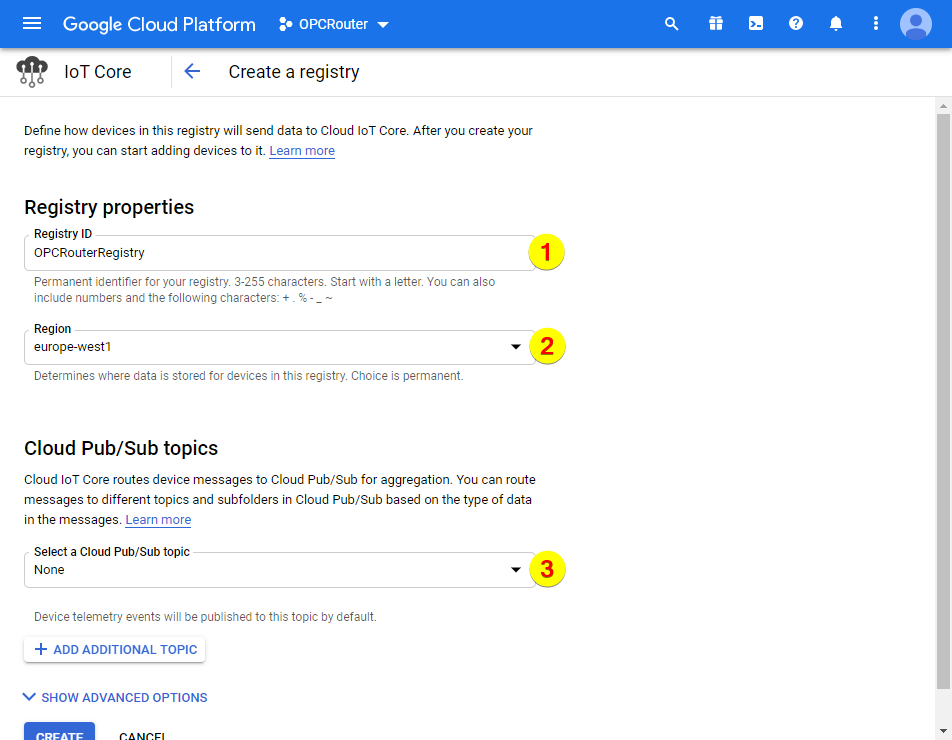
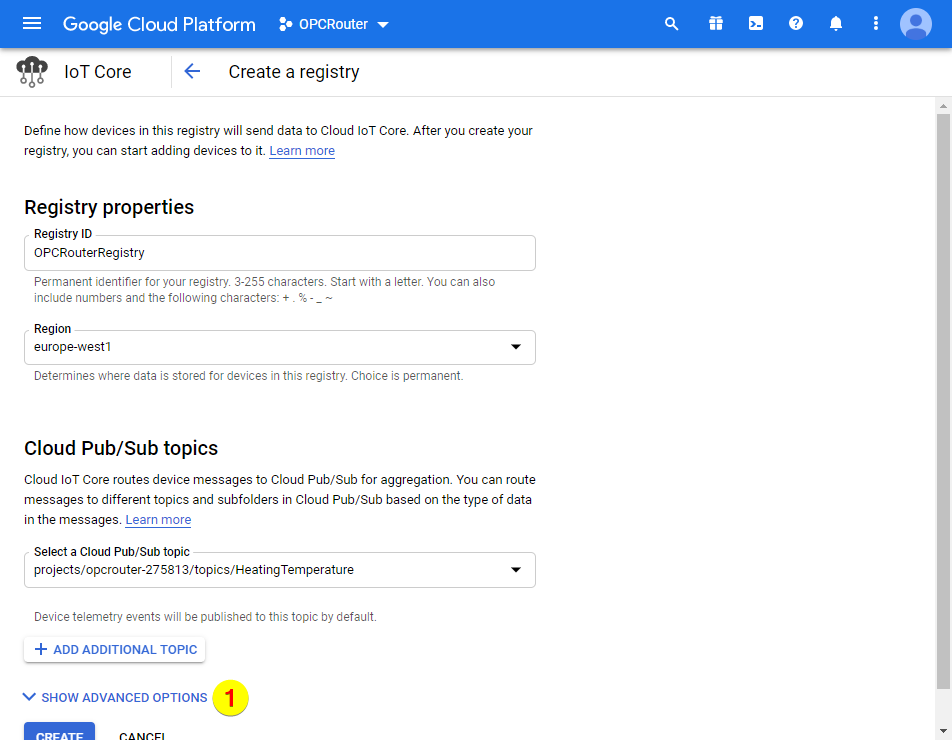
- Put in a registry ID (1), choose the region (2) and open the dropdown list of the topic (3):
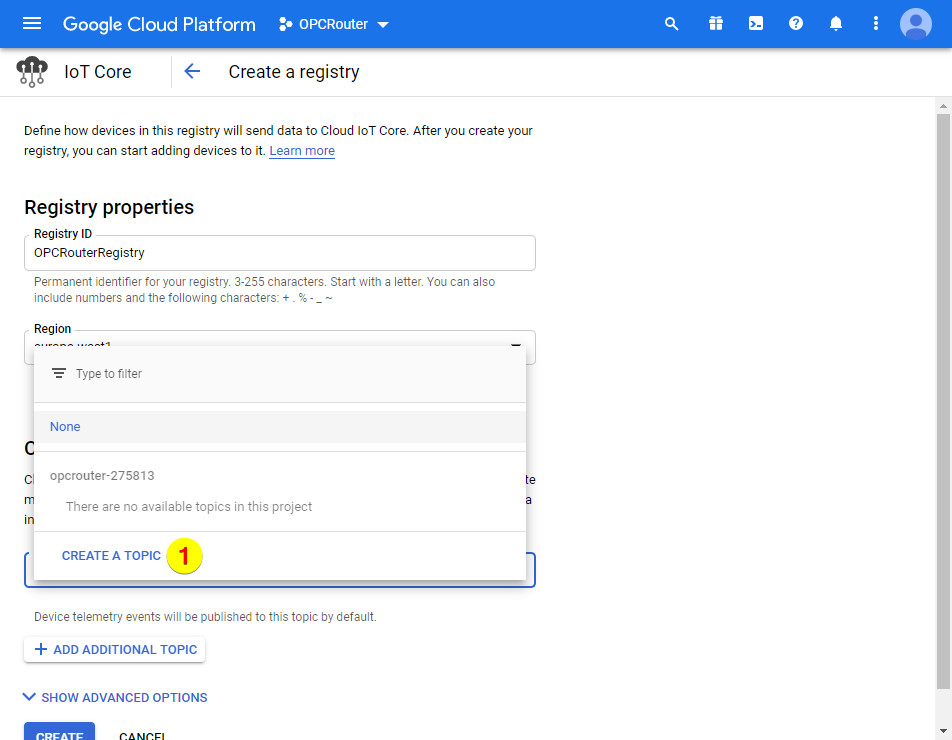
- Click on “CREATE A TOPIC” in that opened dropdown list:
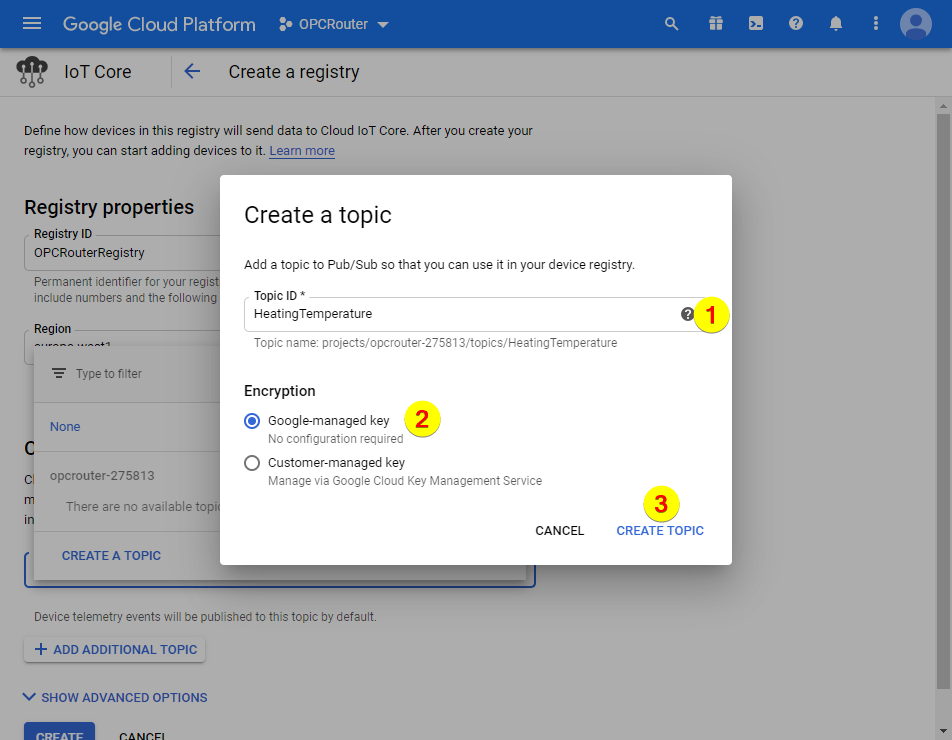
- Put in a topic ID (1), choose the encryption “Google-managed key” (2) and click on “CREATE TOPIC” (3):
- Show the advanced options:
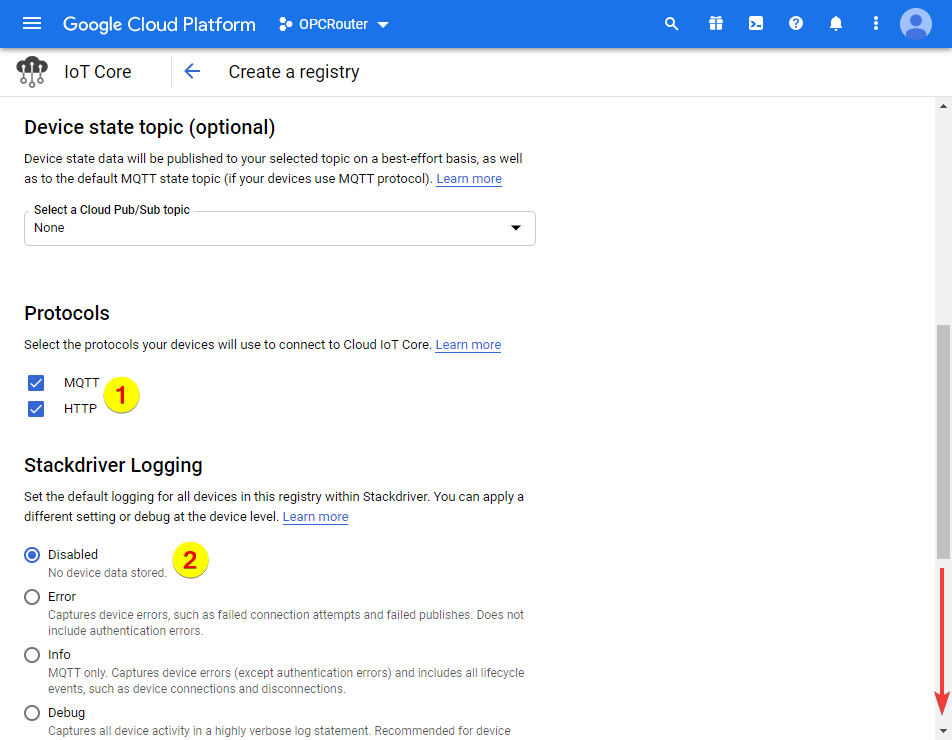
- Activate the protocols “MQTT” and “HTTP” (1), disable the stackdriver logging (2) and maybe you have to scroll down:
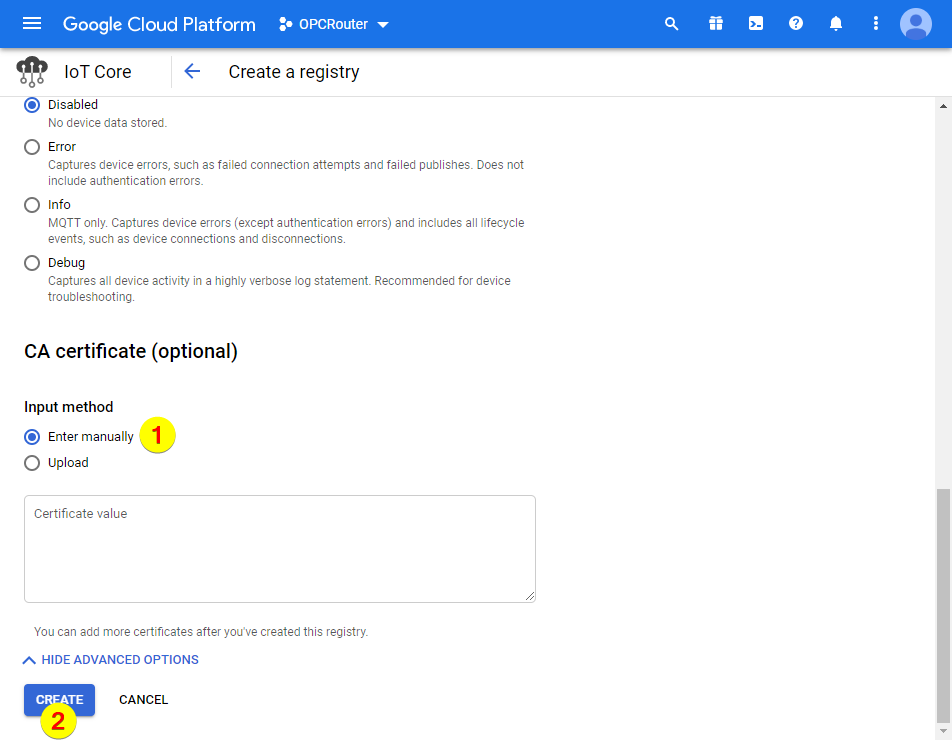
The CA certificate will be entered manually (1) and after that click on “CREATE” (2):
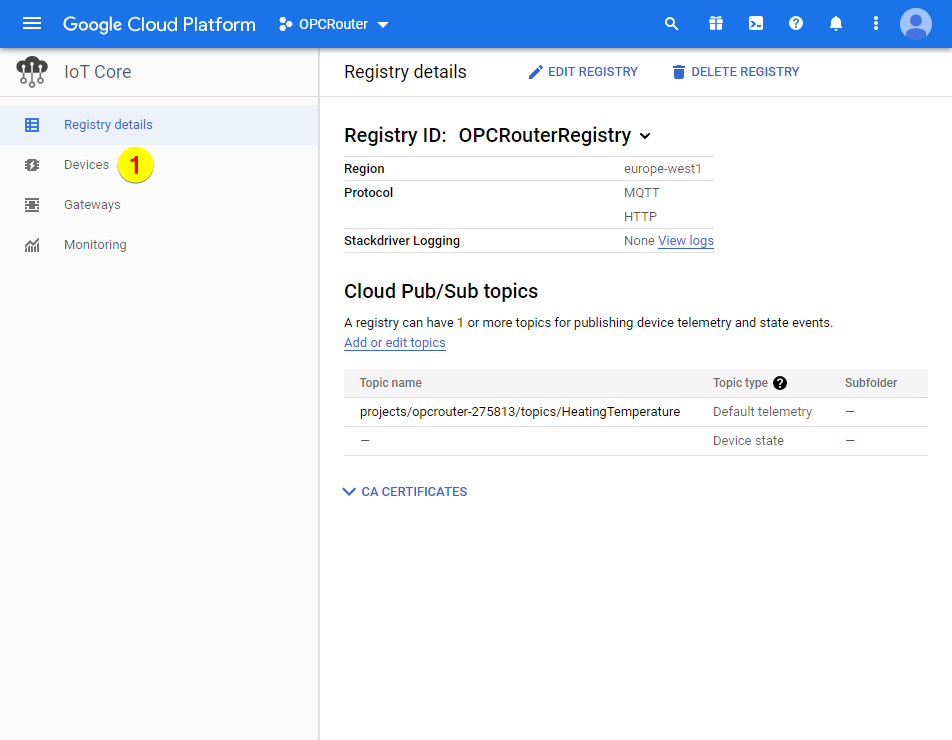
- Finally choose the menue entry “Devices” to create a device later:
Creating a MQTT plugin, as well as generating certificate and device
1. Do following steps in the OPC Router:
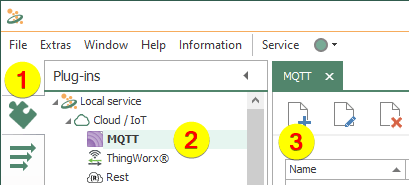
- Click “Plugins” (1)
- Click “MQTT” under “Cloud / IoT” (2)
- Click on the Button to create a MQTT plugin (3)
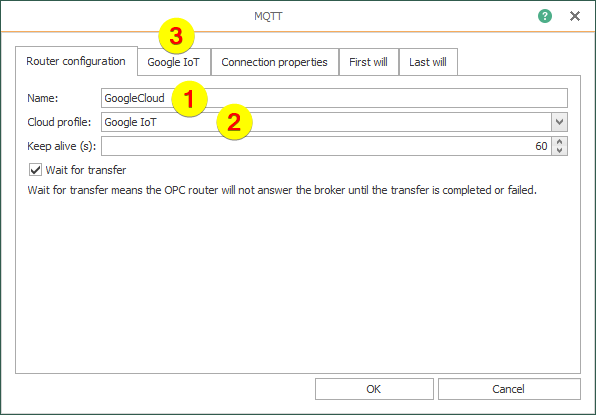
2. Put in the following data on tab “Router configuration”:
- Name (1)
- Cloud profile (2)
The Cloud Profile makes it easier for you to enter the Google-specific connection data for the MQTT connection.
After that click on tab “Google IoT”:
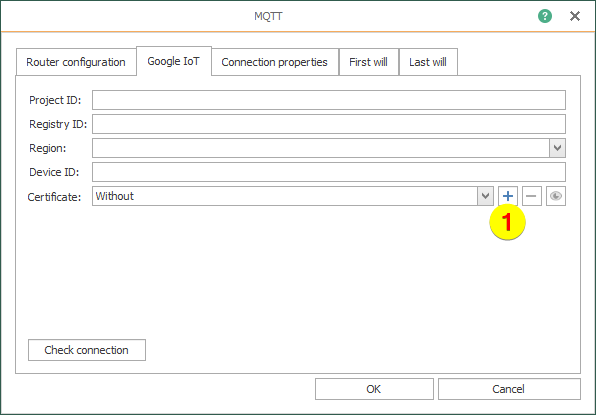
3. Click on the Plus button to create a certificate:
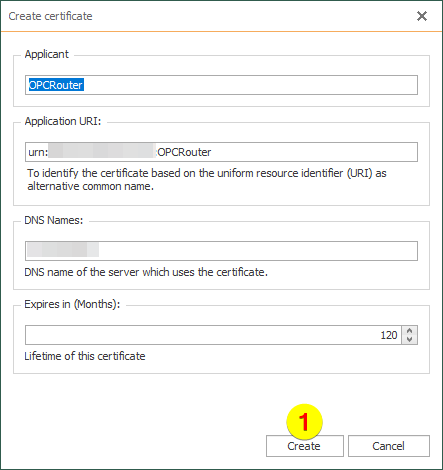
4. Click on the Create button:
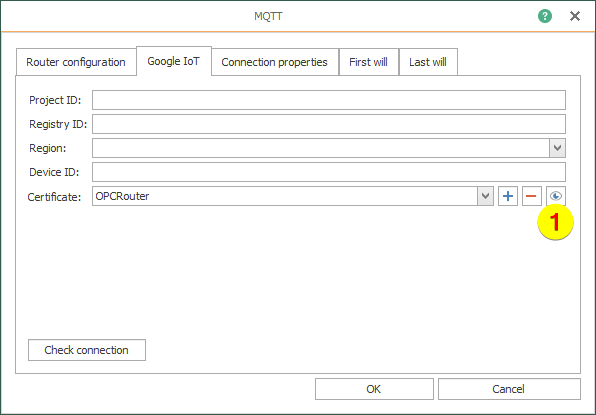
5. Click on the Eye button:
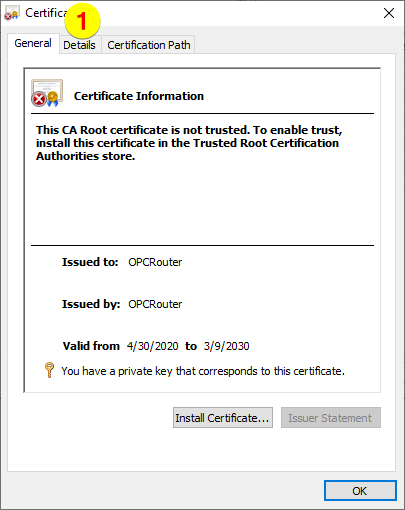
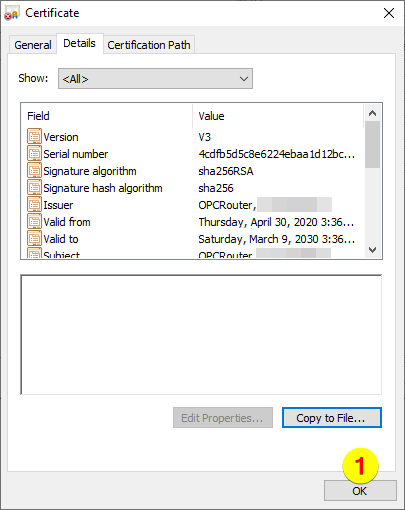
6. Click on the tab “Details”:
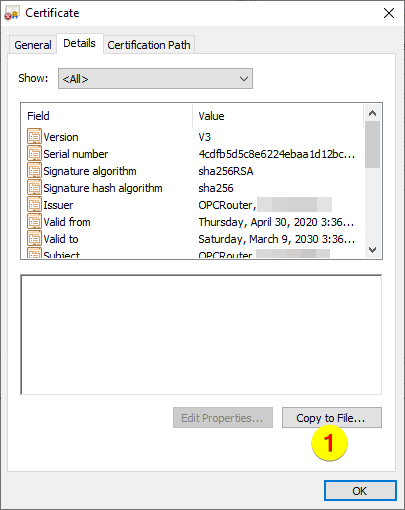
7. Click on the button “Copy to File…”:
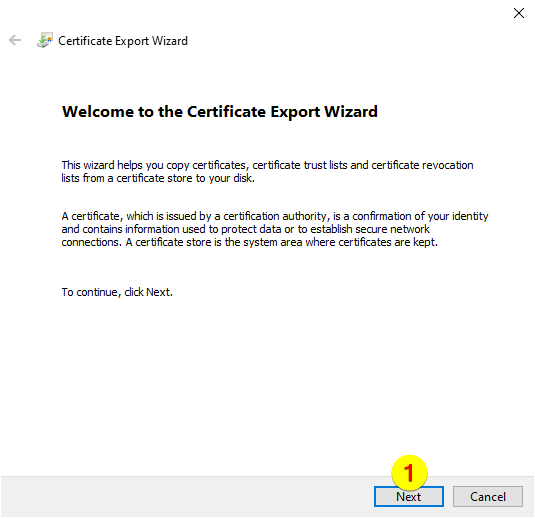
8. Click on the next button:
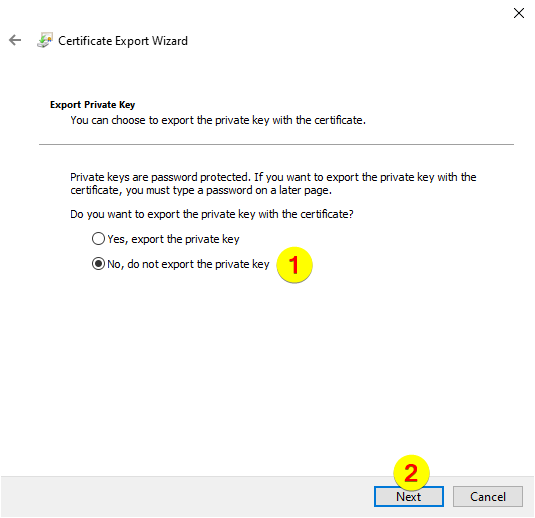
9. The private key shouldn’t be exported (1) and then click on the Next button (2):
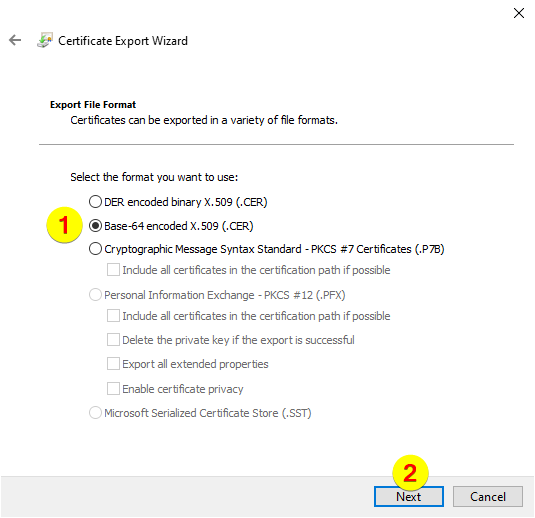
10. Choose the file format (1) and click on the Next button (2):
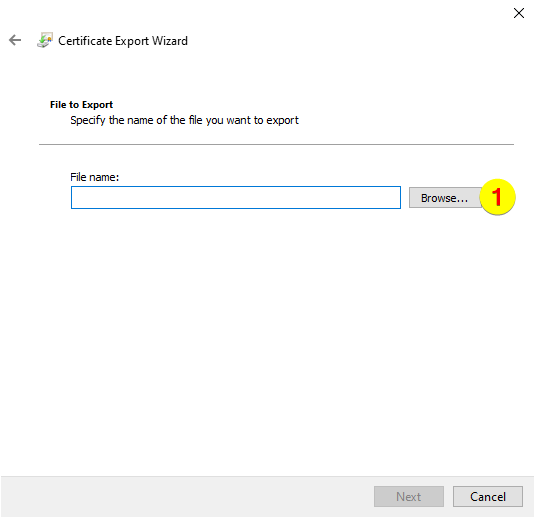
11. Click on the button “Browse…”:
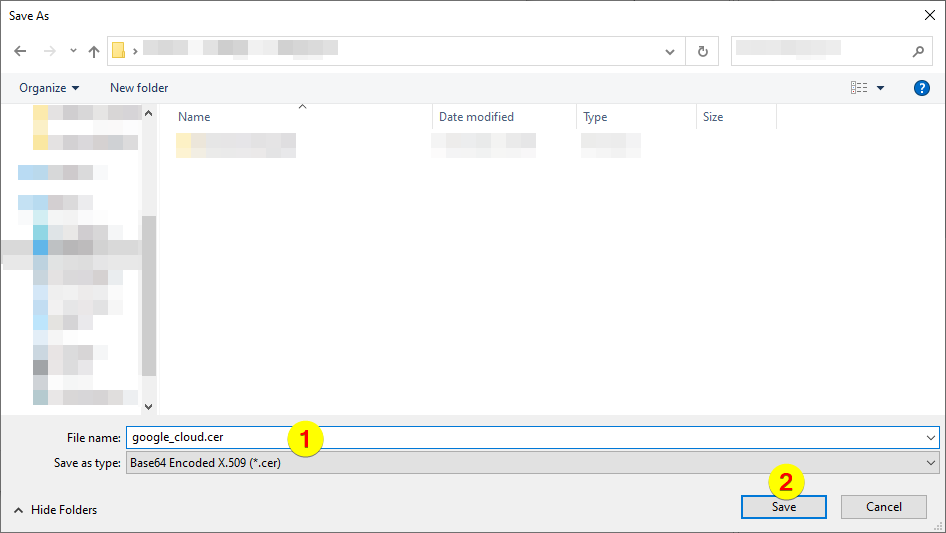
12. Put in a file name (1) and click on the Save button (2):
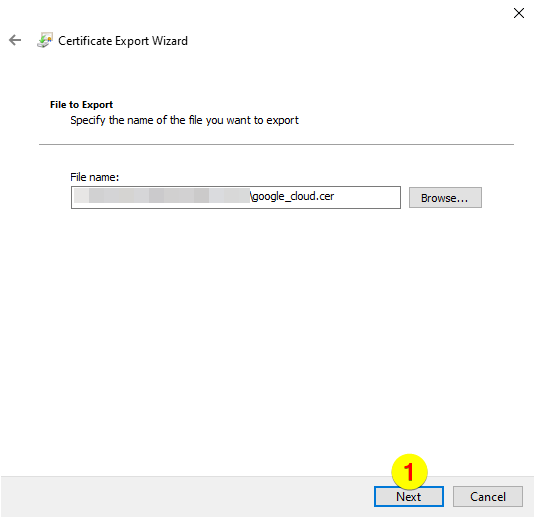
13. Click on the Next button:
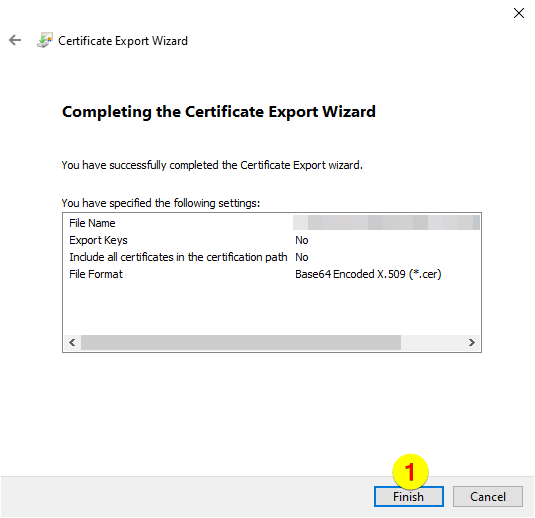
14. Click on the Finish button:
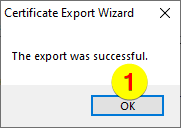
15. Confirm by clicking the OK button:
16. Close the dialogue by clicking the OK button:
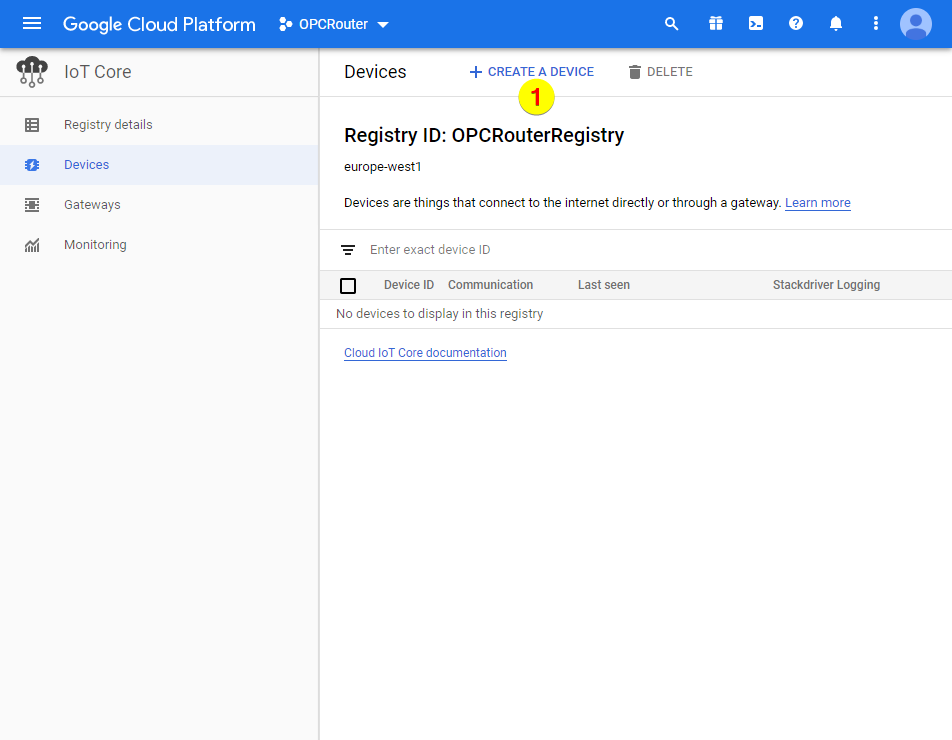
17. Click on “CREATE A DEVICE”:
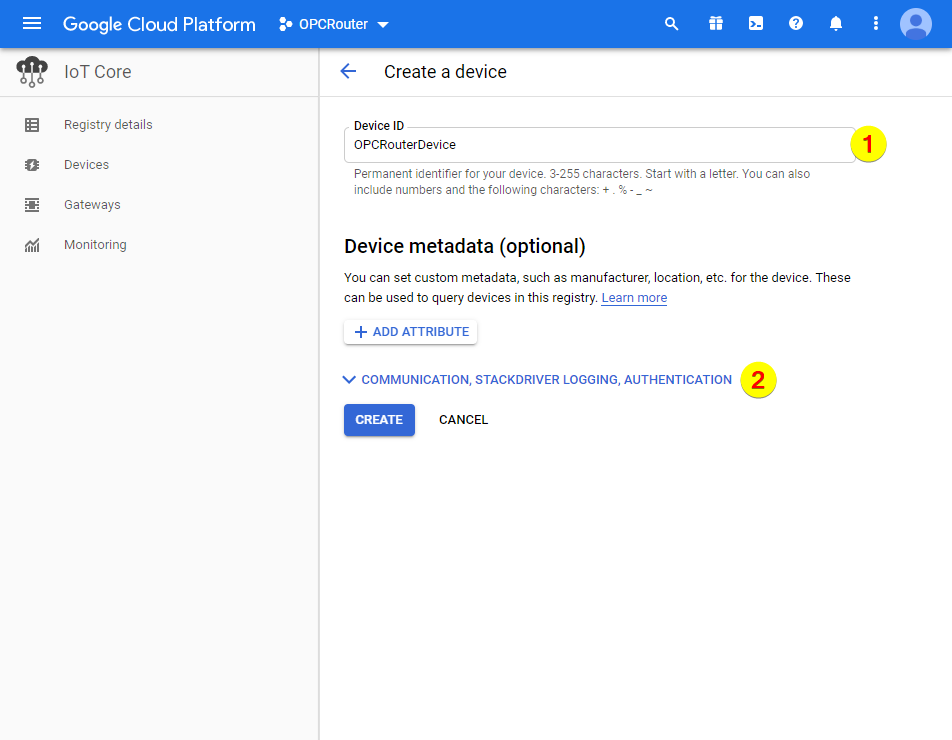
18. Put in a device ID (1) and show the advanced options (2):
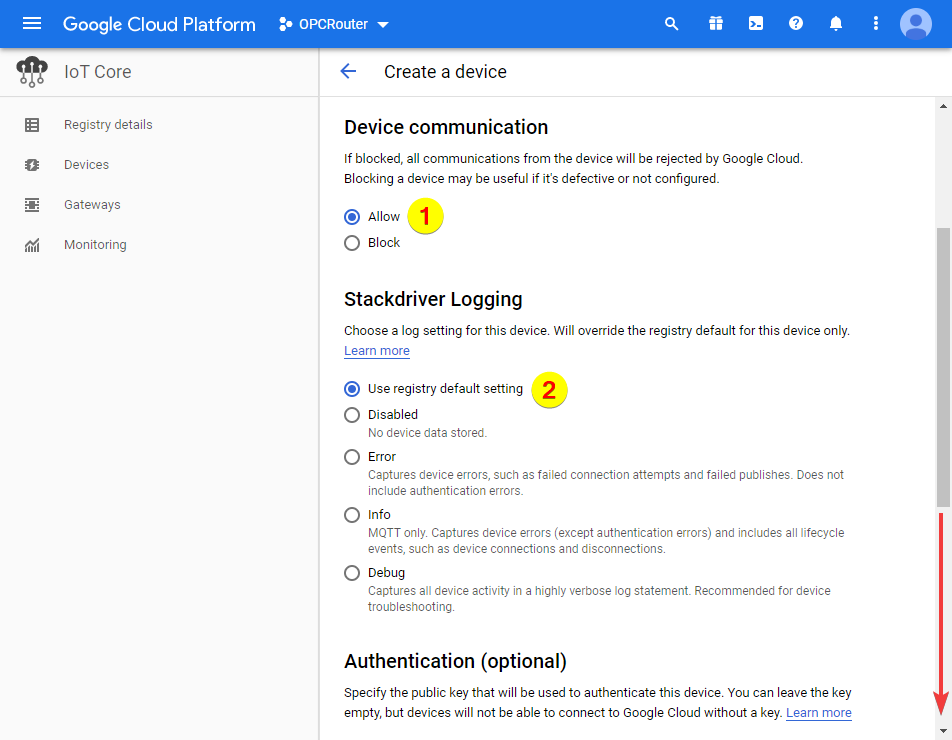
19. Allow the device communication (1), use the default settings of the registry for the “Stackdriver Logging” (2) and maybe you have to scroll down:
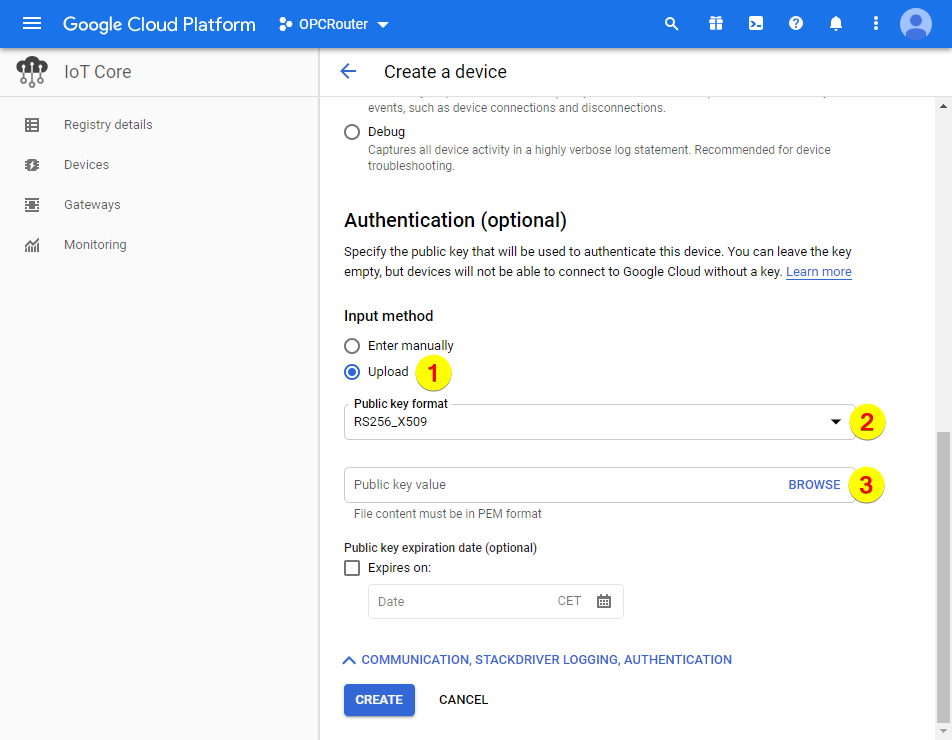
Choose the input method “Upload” (1), use the format “RS256_X509” (2) and click on “BROWSE” (3):
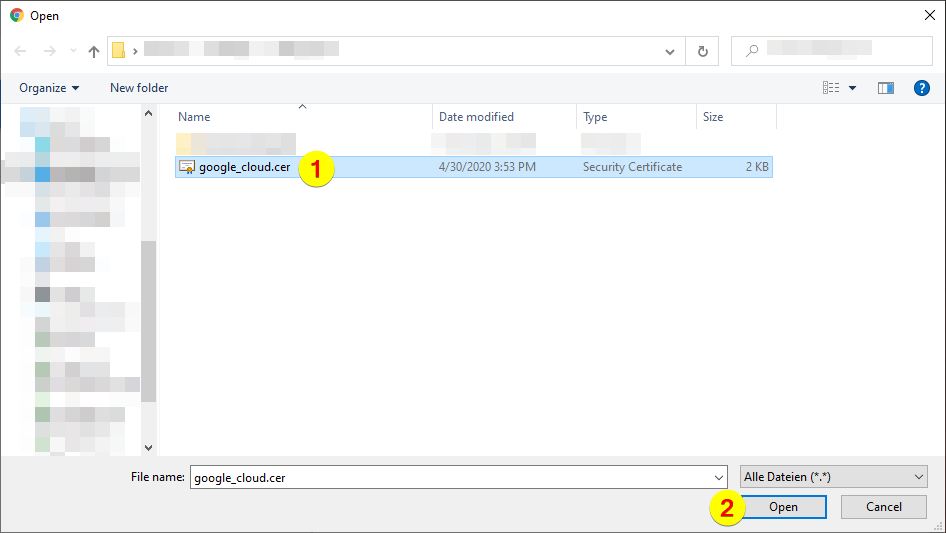
20. Choose the certificate (1) and click on the Open button (2):
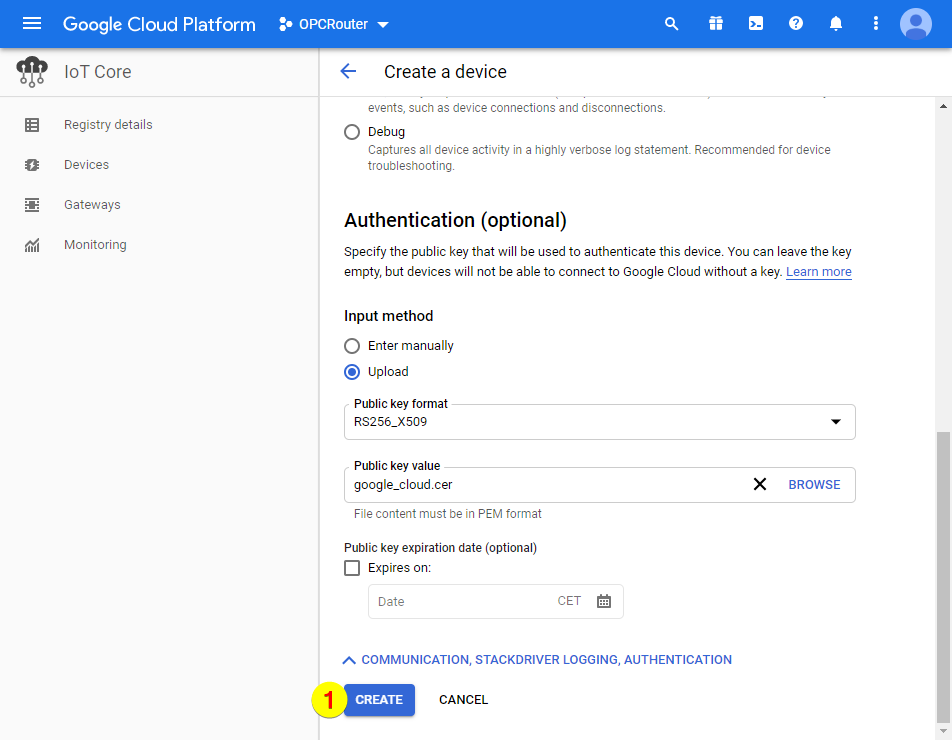
21. Click on “CREATE”:
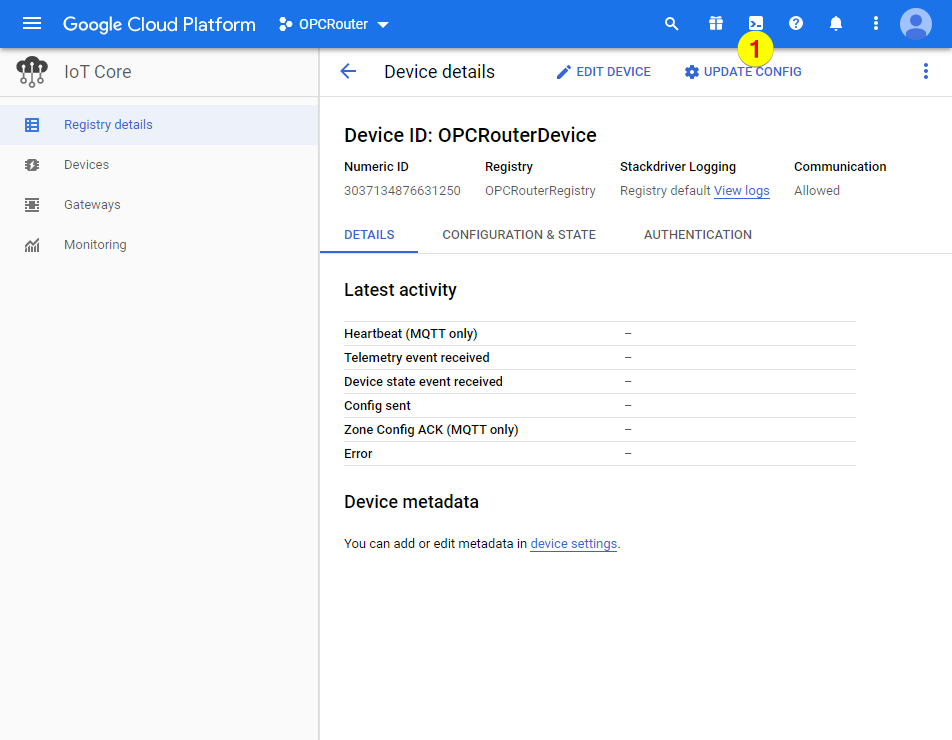
22. Open Google GCP Shell to view the transferred data later:
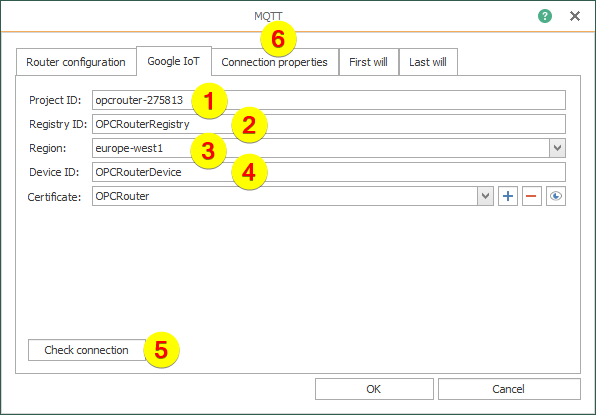
23. Put in the following data:
- Project ID (1)
- Registry ID (2)
- Region (3)
- Device ID (4)
After that check the connection (5) and click on the tab “Connection properties” (6):
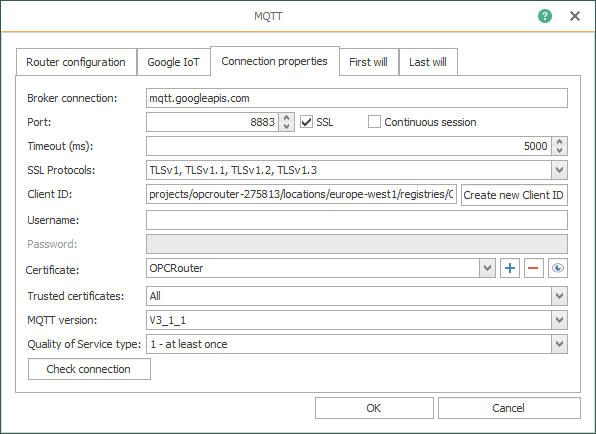
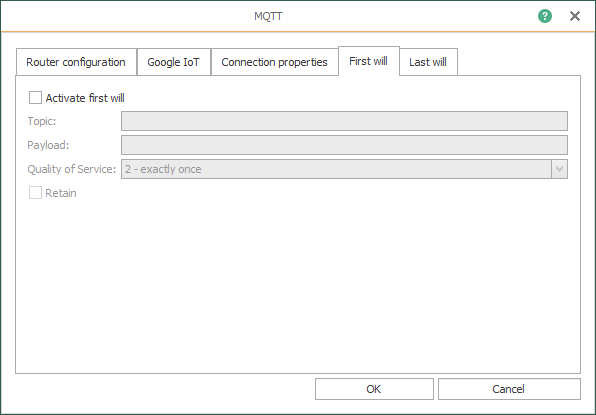
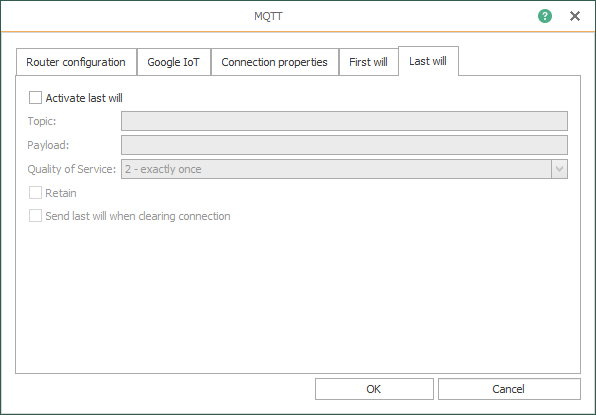
24. The three tabs “Connection properties”, “First will”, “Last will” don’t need to be modified und you agree with the OK button:
25. Finally here is the finished MQTT entry:
Monitoring
As shown in step 22 of the section “Create MQTT plugin and create certificate and device”, open the Google GCP shell and use the following commands:
- Determine topic list: gcloud pubsub topics list
- Subscribe to watch topic: gcloud pubsub subscriptions create –topic
- Read last transferred data record: gcloud pubsub subscriptions pull –auto-ack

